Wednesday, August 25, 2021

Thai curry with vegetables and tofu

 A very simple and flavorful curry that can be prepared in 30 minutes start to finish. We love this creamy, spiced gravy with a generous helping of vegetables and tofu served alongside a steaming bowl of rice. I think I have previously blogged a green curry recipe where I made the green curry paste myself. There is no contest - using a fresh, homemade curry paste will knock your socks off. But there are priorities. When you don't have a bunch of time to collect the ingredients and make your own curry pastes, the ready-made pastes come to the rescue. 

The basic version of this is almost a non-recipe. Plus, we all get to eat the same dinner which means I don't have to spend twice the amount of time in the kitchen making M's dinner and our dinner. That's what makes it a winner, in my book. But enough chitchat.


Ingredients

4 cups of diced mixed vegetables - any combination of peppers, squashes, yams, potatoes, broccoli/cauliflower, carrot

1/2 block or 7oz pressed or extra firm Tofu, diced into half inch pieces

1 onion, sliced thin - optional

1 T neutral oil

1-2 heaped T curry paste, always check the spice level

1 14oz can of coconut milk, well shaken  - low fat if you are feeling virtuous

1 C water - or more, depending on desired consistency

Fresh basil or cilantro for garnishing


Method

Heat the oil and if you are using onions, brown them lightly with some salt. Add the mixed vegetables (yes, all at once) and lightly sauté them for 2 minutes. Add the curry paste, the coconut milk, and the tofu. Rinse out the coconut milk can with water and add 1 extra cup of water. If using an instant pot, set it on low pressure mode for 7 minutes with natural pressure release. If using a stove-top pressure cooker, cook like you would if you had to steam vegetables (like potatoes) - whatever that takes in your pressure cooker. Garnish with fresh basil or cilantro.


The ardent reader might have noted the absence of any "heat" in my recipes. That's because this food is kid approved :) I don't know why, but my coconut milk split a bit today. I think it might be because I neglected to shake the can well and the coconut fat was separated to begin with. It didn't bother me too much, since it doesn't happen often. I like using this method since it is completely hands-off after cutting the vegetables and dumping them into the instant pot. But if I have some time to spare, I might just add the coconut milk after the vegetables cook with the curry paste and then simmer for 5 minutes on low heat. That will ensure the coconut milk doesn't split.


Creamy scrambled eggs

As a baby, M took a while before he could tolerate texture in foods. He would find the smallest of seeds in blackberries or the smallest piece of fruit skin and reject the food. So, I had to find a way to prepare eggs that both ensured it as fully cooked and safe for a baby to consume as well as maintain a creamy texture. This is challenging since eggs turn rubbery when cooked.

After much web searching, I chanced upon Gordon Ramsay's scrambled eggs recipe. It works beautifully. I season it liberally either with basil and flavored olive oils and a dash of lemon juice or some garam masala and lemon juice. M seems to enjoy either combination. He also loves acidic foods and the lemon helps this go down easy.

The added bonus of this dish is that you get an arm workout for free! It requires continuous stirring. A few seconds away and you can overcook the eggs. So, it is important to keep all the ingredients prepared and ready to deploy before beginning. These are wonderfully creamy eggs and quite decadent. 


Ingredients

1 large egg

1 Tbsp unsalted butter

1 heaped tsp cream cheese or thick yogurt or sour cream

Salt and Pepper to taste

dried basil/flavored olive oils

1 tsp lemon juice


Method

In a non-stick pan, add the egg and butter together and start with medium heat. Use a rubber or silicone spatula and work to break down the eggs as the butter melts. Keep stirring and scraping the sides of the pan. Once the eggs are completely broken up they will suddenly start to thin down and become quite watery. At this point, turn down the heat and keep stirring, continuously. A minute or two later the eggs will suddenly start to get creamy. Go easy at this point and watch it like a hawk. Take off the heat before they seem completely cooked since it will continue to cook in the pan. Add the cream cheese or yogurt or sour cream at this point and mix well to arrest the cooking. Now add all seasonings like salt and pepper and others.


I'm back, with a new focus.

Okay, so I disappeared for a few years. A lot has happened, since. An addition to the family meant that my exploration in the kitchen has been limited and has taken on an entirely different dimension altogether.

I now cook with a newer audience member in mind - little M. Henceforth, this blog shall primarily (but not exclusively) serve to document foods I prepare for M. 

See you soon!

Sunday, April 24, 2016

Easy mixed berry cobbler

Last night, I threw together the fastest dessert I have ever made. Surprisingly, it was one of the best desserts I have ever had. How often do you get rewarded for not putting in a whole lot of effort? I used this fantastic recipe and only made minor modifications. 

Ingredients
2 - 2.5 C frozen or fresh mixed berries
3/4 C all purpose flour
3/4 C milk
1/2 C sugar
4 Tbsp unsalted butter
1/4 tsp salt
1 tsp baking powder
1 tsp vanilla extract
1 tsp almond extract

Melt the butter in a pie dish. Mix together the flour, sugar, salt, baking powder, milk, and the extracts. Pour into the pan. Scatter the berries in the batter. Top with a tablespoon of sugar. Bake for 45-50 minutes in a 350F oven. Serve warm, with a scoop of vanilla ice cream for an extra special treat. Bliss!


Notes : 
  • 1/2 C sugar was plenty. In fact, it was a little sweeter than I prefer. Maybe the berries were very sweet by themselves. I will use a bit less sugar next time. 
  • I loved the almond flavor with the berries. 
  • Lemon zest might accent the flavors really well.

Saturday, January 16, 2016

Wheat Bread

It all started with my buying a big jar of instant yeast. It seemed like such a good idea at the time.. I had visions of myself surrounded with an array of delicious, fluffy baked breads. I would wake up early on Sundays and bake two loaves of bread, that would be consumed over the week. We would never have to buy bread again... This is how I convinced myself that the big jar of instant yeast was a great investment. Sure to pay for itself.

Months slipped by. The unopened jar started back at me every time I opened the cupboard, reminding me of my lofty dreams. Finally, last week, along with the rush of energy that accompanies one during the new year, I decided that I was going to bake some bread.

I wanted to try a whole wheat bread. I've made the caramelized onion bread a few times now, some foccacias, but never a whole wheat bread. Whole wheat yeasted breads can be intimidating. A quick perusal through the cookbooks in my home got me all discouraged at first. They recipes involved complicated steps (start a biga, knead-rest-knead-rest-knead-rest.. I lost track of the number of times and the amount of time for each step). Also, I didn't want to burn my whole weekend baking bread.

This recipe, however, was inviting. It comes from the magnificent Smitten Kitchen, where pretty much every recipe I have tried is a whopping success.

I made some minor modifications to the recipe, that I note here ( I *have* to tinker). First, I made a half batch. Second, I substituted bread flour for part of the whole wheat flour.

Ingredients
1/2 C + 1/8 C water
1/2 C + 1/8 C milk
2 T molasses
2 1/4 tsp instant yeast
2 T oil
1 egg
1 C quick cooking oats
1 1/2 C whole wheat flour
1 C bread flour
1/2 T salt

Procedure
Heat the milk and the water together in the microwave, until lukewarm to touch. Add the molasses, yeast, oil and egg and whisk together until well combined. It is easier to beat the egg separately and add instead of combining it with all the liquid. Add the oats, the flours and the salt and stir well until combined. Let the batter rest for about 5-10 minutes. After that, mix vigorously for about 10 minutes, starting with a wooden spoon and then with your hands. I was a bit lazy and only kneaded for 5 minutes.

Proof the dough for about 2 hours, or until the volume doubles. Punch out the air at that point, and plop it into a greased baking dish. I didn't bother with the fancy rolling and shaping. Maybe next time..

Let the dough rest and rise again for another hour. Then bake in a 350 F oven for about 45 minutes, or until the bread sounds hollow when tapped. Let it cool before removing from the pan. It came out without much trouble.

Verdict 
The bread tasted great. It tasted of whole wheat, with a hint of molasses. The molasses imparted a fantastic dark brown color, that I loved. During my childhood, my parents regularly bought bread at a fantastic bakery : Universal Bakery on Kutchery Road, Luz, Chennai. This bread reminded me of that. It's not quite there, but similar.

The bread kept well for a week, and was very hearty. May be it is the oats that makes it so filling. I will try this again, but one thing that I had trouble with was the number of crumbs. I had to slice pretty thickly to prevent the bread from breaking apart. Maybe I'll be more diligent about the kneading and shaping the next time.


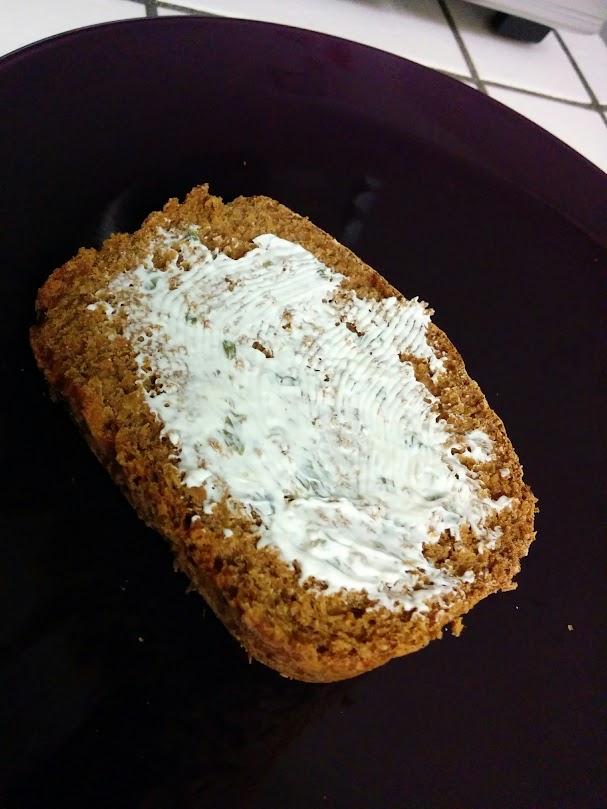
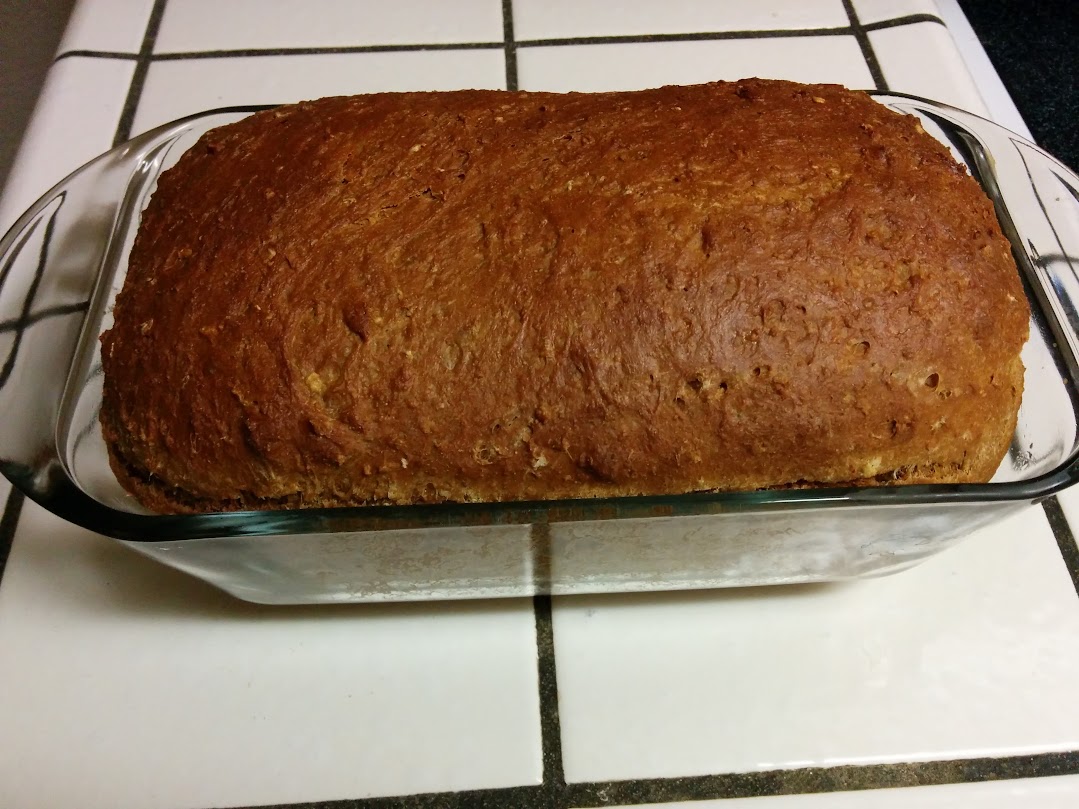
Wheat Bread with oats, right out of the oven. It smells like a bakery here!
Look at the gorgeous dark brown. It reminds me of the bread at Universal Bakery in Luz, Chennai.

Yum.


Friday, January 1, 2016

Happy 2016!


Happy New Year!! I have neglected this space for a long time. I'm hoping to be more active this year.

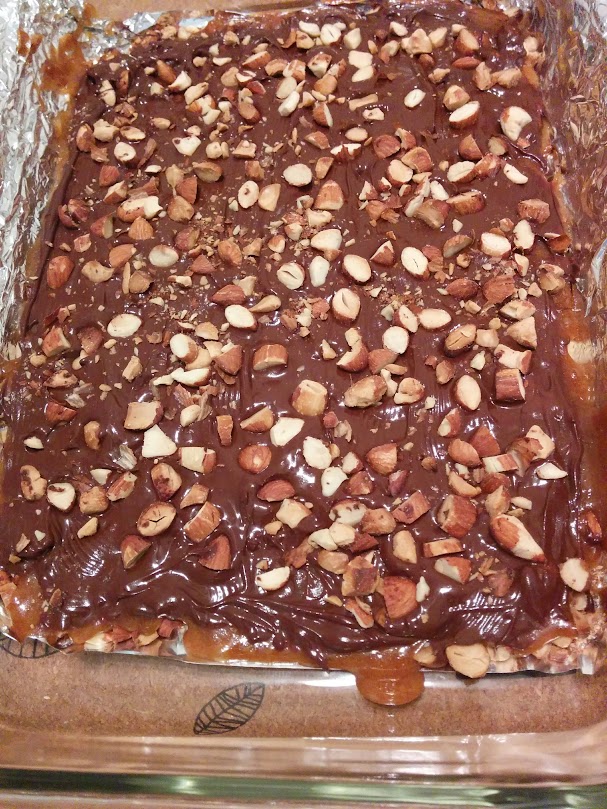
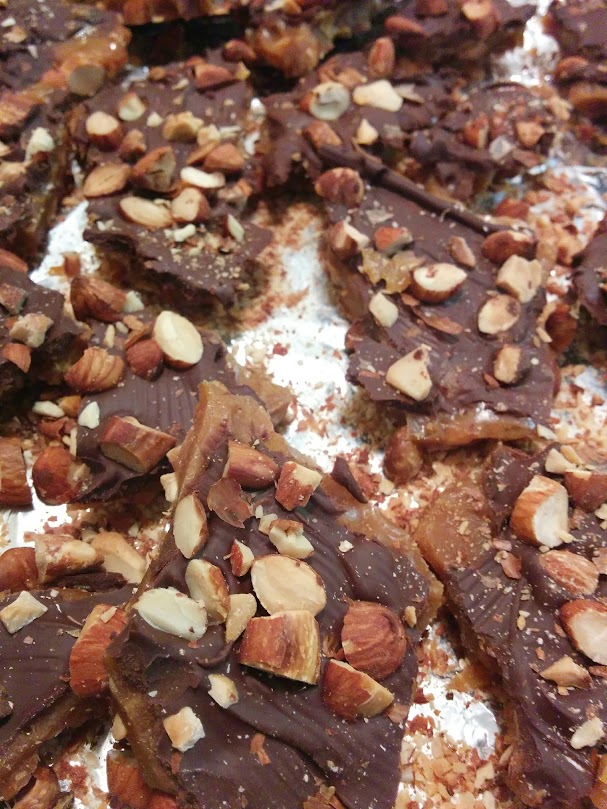
I'll start off with a sweet treat I made in 2015 to give away as gifts. These were incredibly good and easy to prepare as well. I followed David Lebovitz's recipe exactly and that is what I would do the next time as well. I can't wait to make another batch!

Things to note :
a) Watch the almonds like a hawk while they are toasting. Over toasted almonds get bitter!
b) Chop them by hand. This is time consuming, but the effort is worth it.


The buttercrunch cooled for hours before it set completely. It took about 5 hours on a winter evening!

This was unbelievably delicious.


Sunday, December 28, 2014

Cranberry Almond biscotti

A wonderful recipe for biscotti, from the fantastic Smitten Kitchen blog. I made small adjustments to the recipe, as noted here. The cranberry almond combination is a winner and I will be making this again. I was worried it was too crumbly, but in the end, the texture was fine. My biscotti were a little tubby, but they were delicious!


Ingredients

3 C flour
1 Tbsp baking powder
1/3 tsp salt
1/2 C or 8 Tbsp butter, at room temperature
3 eggs
1 C sugar
1 Tbsp orange zest
1 Tbsp vanilla
1/4 tsp almond extract

1 C slivered almonds
1/3 C dried cranberries

Whisk together butter, sugar, eggs, zest, vanilla and almond extract. Sift flour, baking powder, salt and add to the butter/sugar mixture. Stir until combined and all the flour is incorporated well. Add the almonds and cranberries and mix well to combine.

The dough is sticky. Work with your hands if needed. Transfer to a floured work surface and add small amounts of flour as needed. Shape into 2 logs.

Preheat oven to 350 F. Grease cookie sheet  and place the logs with about 2 inches clearance from the edges and from each other.

Bake for 25-30 minutes, until lightly browned. Allow to cool completely.

Slice on a bias with a serrated knife and lay flat on the same baking sheet. Bake on one side for 8 - 10 minutes and flip them. Bake them on the other side for 6-7 minutes before removing from the oven and cooling completely.

Store in an air tight container.

Mine came out slightly crumbly. I knew this was going to be an issue when I tried to slice the log after the first bake. I think this might be because I used slightly less butter than the original recipe called for.